



Build speed in surfing
Find a line that carries you, keep your speed and learn to accelerate with a smooth pumping rhythm.
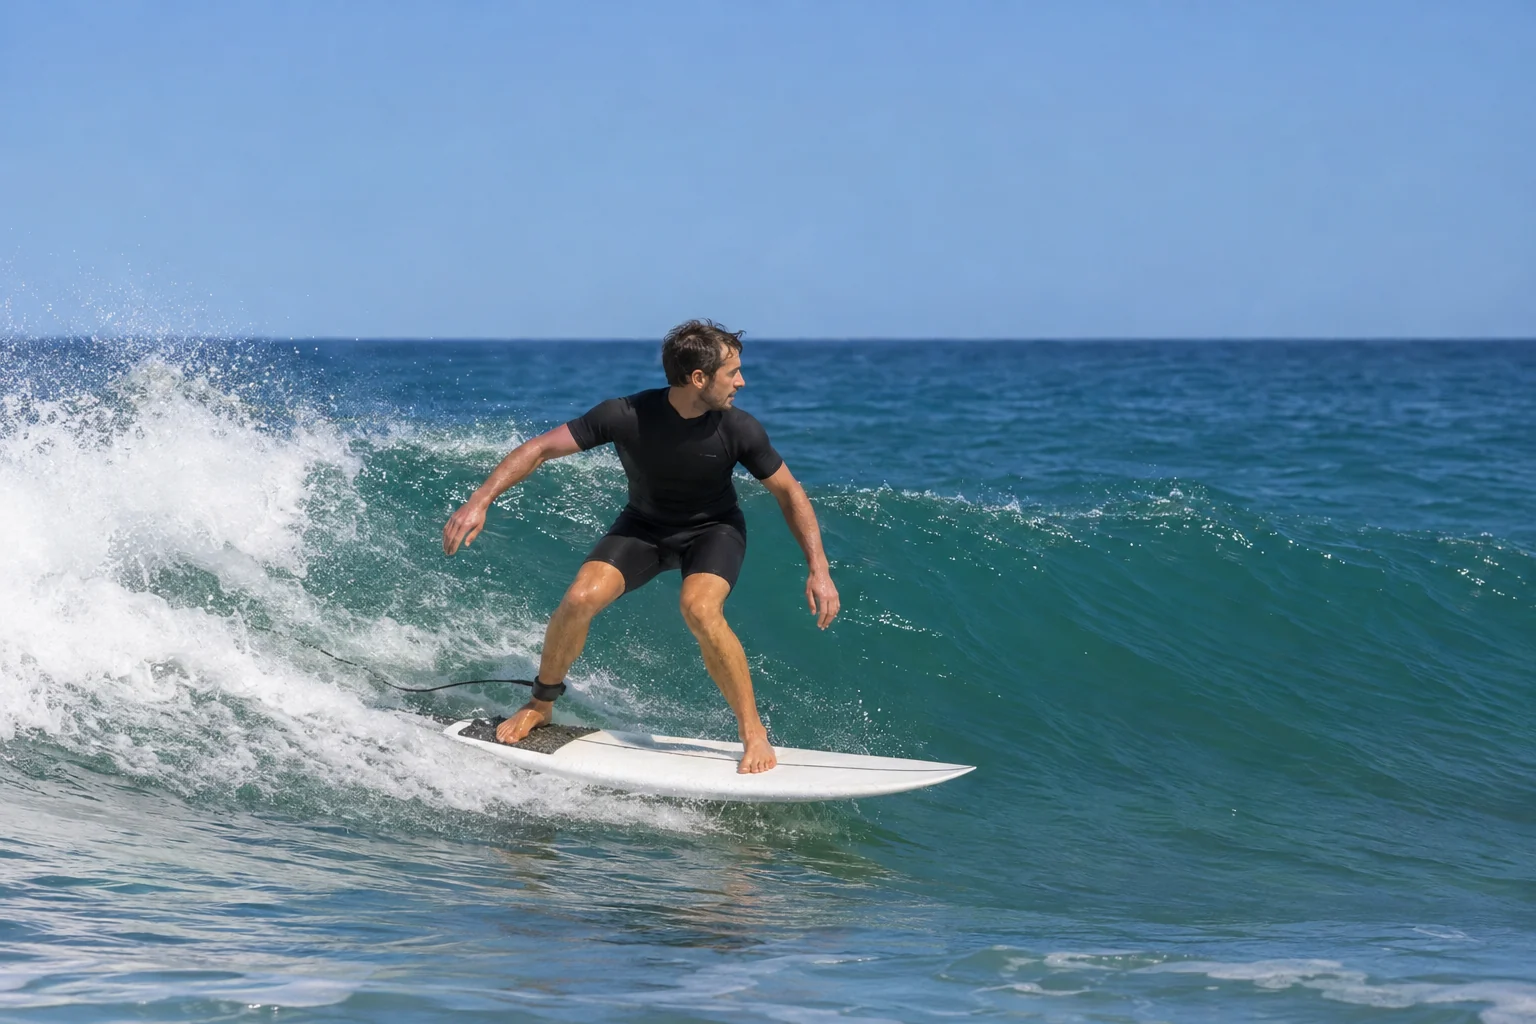
Your line determines how much speed you keep
To build and maintain speed in surfing, you need an open wave face and a line that lets your board keep its speed. Use the descent and the rail’s contact with the water. Pumping links small arcs on the face with coordinated bending and extending of your legs. If you lack speed, look at your line first.
You make the take-off, get to your feet and head towards the shoulder. A few seconds later, your board loses speed. You bounce frantically once more, then the wave gets away.
On your next wave, notice where you lose speed. Are you already far ahead of the breaking section? Are you riding below the wave face? Or does your board slow just as you stand taller? That observation tells you what to practise.
Ride where the wave can carry you
A useful line depends on the wave’s shape and your board. The diagram shows two typical routes on a right-hand wave. It is a guide, rather than a fixed track to follow.
Schematic illustration. How high and how far you ride depend on the section ahead and your ability.
Keep the open face in view
After taking off, look along the wave. Choose a reachable point on the open face and steer towards it. If you ride far out onto the flat water in front, you may lose the wave.
A steady diagonal line is enough to begin with. You do not need to ride directly below the breaking lip or force a steep turn.
Recognise when the shoulder gets too flat
The shoulder is the open part of the wave beside the breaking section. If it flattens ahead of you, plan your return towards the more powerful section early.
Once you can steer confidently in both directions, this is where a cutback comes in. Frantic pumping far out on the shoulder often will not bring you back.
For more on the pocket, face and shoulder, read our guide to the energy zones of a wave.
When to glide and when to pump
You do not need the same movement on every wave. First notice whether your board is already holding its speed on your chosen line.
Trimming: let the board glide
When trimming, you adjust your course and weight distribution so the board runs along the open face. Keep your knees responsive and your upper body quiet. On a steady wave, that may be all you need.
A longer board that glides well often needs smaller adjustments than a short board.

Pumping: find the rhythm
Pumping alternates between higher and lower lines. Bend and extend your legs in time with the board’s direction, creating a flowing movement along the face.
Choose small, controlled arcs that carry you along the wave.
Pumping in surfing: four illustrated steps
The sequence shows a simplified rhythm on an open wave. Start with one arc. Link more together once your board keeps its speed under control.
See your next line
Keep your knees responsive and look at the open face ahead. From a lower line, start a shallow arc upwards.
Extend as you ride up
Extend your legs as the board carries speed diagonally up the face. Keep your upper body over the board and let the movement follow your chosen arc.
Redirect in time
Turn your gaze and board towards a clear line diagonally down the face. Redirect before you stall at the top or reach the breaking lip.
Bend into the descent
Bend your knees again as the board carries speed down. Link that descent into the next small arc while the face remains open.
AI-generated teaching images. These four images illustrate movement phases; they are not a video analysis of a real ride.
Watch the board’s nose
Does it follow a clear arc up and down? Or is your upper body doing most of the moving while the board goes almost straight? On your next attempt, focus first on the board’s path.
Give your board room to glide
Start with a stance you can control. Change just one thing at a time when comparing attempts.
Stay over your board
Keep your knees soft and look along your intended line. Leaning far back can sink the tail. Throwing only your upper body forwards can upset your balance.
Check your whole stance: where are your feet? Where are your hips? Can you still bend and extend your knees without falling off to one side?
Look beyond board length
Volume, shape and the waves all affect how easily your board carries speed. In weaker waves, more planing area can help. Begin practising on a board you already know.
Our guides to surfboard types and surfboard volume explain the differences.
Where do you lose speed?
Choose the situation you recognise from your last session. Take the matching observation into your next attempt.
I slow down straight after the take-off
Look at the first few seconds: is your board already pointing along the wave, or are you still heading towards the beach? Do you lose the wave before reaching your line?
Your next attempt: Link the take-off with a shallow turn towards the open face. Use our bottom turn guide.
I pump but hardly move forwards
Check whether your board is actually making arcs. Busy arms and shoulders can hide a lack of direction change.
Your next attempt: Make just one small arc. Then notice whether the board keeps its speed. Build a larger movement only once that transition works.
I lose my balance at the top
Watch the moment you redirect: is the section still open? Are your gaze and board already turning towards the descent?
Your next attempt: Choose a lower target on the face and redirect earlier. You do not need to reach the lip for this drill.
My board stops on the shoulder
Check your distance from the breaking section. You may be heading onto a face that is already too flat for your board.
Your next attempt: Spot the flat section earlier. Keep your line closer to the usable face, or practise a wide, controlled cutback when you are ready.
I lose speed after every turn
Look at where your arc ends. Does it bring you back onto an open line or far out onto the flat? Are you comparing similar waves?
Your next attempt: Make your next turn a little shallower and compare the exit. Change only the turn’s radius for this attempt.
Three waves, one focus
Compare three suitable waves in conditions that are as similar as possible. If an attempt goes wrong, repeat it with the same focus.

Line first, then rhythm
- Wave 1: Hold a steady line on the face. Notice where your board starts slowing down.
- Wave 2: Before that point, choose a slightly higher line you can reach, then redirect diagonally down.
- Wave 3: Link the same arc with a deliberate extension on the way up and a bend into the descent.
Judge the comparison by whether you keep riding the open face under control. Counting pumps tells you little on its own.

How to recognise a useful rhythm
Your board keeps its speed after you redirect and carries you to the next open part of the face. You can then continue calmly or prepare a turn.
If someone films from the beach, compare the board’s nose with your knee movement. Does the board rise as you extend? Do you bend again into the descent? A short clip filmed from the side can help.
After the session, note one observation, such as: “Redirecting earlier helped me stay with the wave.”
An open shoulder gives you room to practise
Imagine watching a smaller wave from the beach that stays open along its face. That is the section you need: enough space for a gentle arc without having to outrun a fast-breaking section.
Before entering, watch several sets and check currents, entry and exit points. At El Cotillo beach, wind, tide and sandbanks can change the conditions. If waves close out along a long stretch at once, look for better conditions for this drill. The lagoons are not an alternative location for practising manoeuvres.
If you are unsure about the spot or your line, we can arrange private surf coaching. Bring a specific question, such as why you slow down after your first arc.
Speed in surfing: frequently asked questions
How do I build speed in surfing?
Start with a controlled take-off and a line on the open face. Use the descent and stay connected to the usable part of the wave. Once stable, you can link small arcs with a matching rhythm of bending and extending your legs.
What is pumping in surfing?
Pumping is a series of up-and-down arcs along the wave face. Your leg movement follows the board’s path: extend as you ride up, then bend again into the descent. The timing depends on your arc and the wave’s shape.
Do I need to pump on a longboard?
Not every ride needs pumping. Longer boards often trim well. Your course, stance and position on the wave still matter. How much movement helps depends on your board and the conditions.
Why does my surfboard slow down after a turn?
Possible causes include too tight an arc, an exit onto flatter water or weight distribution that sinks the tail too much. First look at where your turn ends. Then compare two rides with slightly different turn radii.
Can I practise pumping on a surfskate?
You can work on a steady movement rhythm on a clear, level surface while wearing protective equipment. It does not replace wave selection or choosing a path on the face. Ask someone to demonstrate the movement if you are not yet confident on a surfskate.
When should I start learning to pump?
Once you can ride along small green waves under control and make simple direction changes, try a small arc. If your stance is still unstable, work on that first. Choose conditions you can assess safely.
Carry speed into your next turn
Choose the guide that fits your next movement on the wave.
Editorial team: FreshSurf, El Cotillo. These drills offer general guidance. The wave’s shape, your equipment and your ability determine a suitable line.
Further explanations and teaching videos: