



Learning the bottom turn
You’re riding a green wave sideways and want to head back to the wave face on purpose after the take-off? Two picture sequences show you your first bottom turn, frontside and backside.
What is a bottom turn?
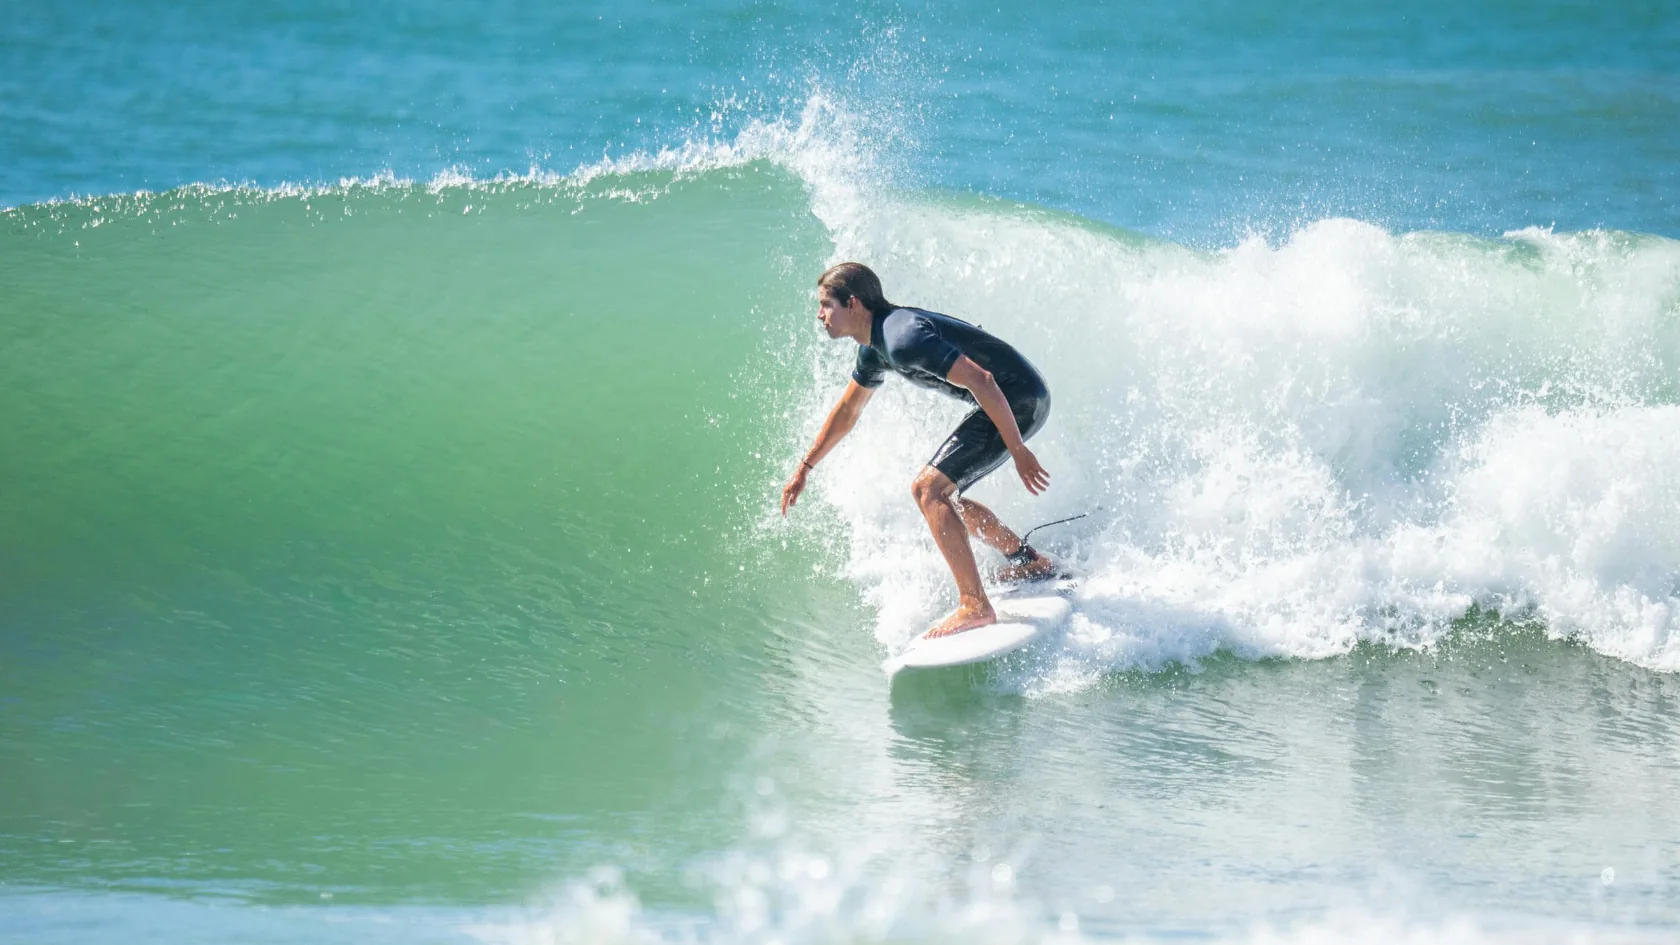
The bottom turn is the curve in the lower part of the wave that steers your board back to the open wave face. You carry momentum as you ride down, bend your knees and let the board draw an arc on its wave-side rail. To start with, a shallow curve is enough, as long as you can keep riding along the open face afterwards.
Practise it once you can repeatedly ride steadily towards the shoulder on small green waves after the take-off. You’ll find the preparatory exercise in the guide Riding green waves sideways.
Frontside bottom turn
Your chest faces the wave. You can see the open section of the face early and bring the board into the arc on its toe-side rail. Stay low and flexible over the board.

Carry the momentum
Carry the momentum from the take-off and ride in control into the lower part of the wave. Look towards the open face while you’re still riding down.

Get lower at the bottom of the wave
Bend your knees further when you reach the bottom. Your weight stays over the board so you can load the rail gradually in the next moment.

Steer in on the toe side
Gradually put weight on your toes. Stay low while the nose of the board swings from the drop towards the open face.

Ride up to the open face
As soon as the board rides back up the face, extend your legs a little. Look where you want to continue riding on the open face.
AI-generated teaching images. The four pictures illustrate the phases of the movement.
Backside bottom turn
Your back faces the wave. Look back over your front shoulder towards the open face and put weight on the heel-side rail. Bend your knees and keep your hips centred over the board so you can load the rail gradually.

Ride diagonally down
Ride into the lower part of the wave with the momentum from the take-off. Look over your front shoulder towards the open face.

Bend your knees and stay low
Lower both knees. Stay centred over the board while you prepare the turn and keep your target point in sight.

Steer on the heel side
Gradually put pressure on your heels. Let your front shoulder follow your gaze until the board points towards the open face.

Finish the turn
Release the pressure a little as the board heads towards the open face. Gradually come out of the low stance and use the momentum for your next line.
AI-generated teaching images. You can read the change of direction from the board’s nose and the riding line.
Three mistakes you’ll notice in the water
| What happens | What you can check | Your next attempt |
|---|---|---|
| You ride too far into the flats. | The nose points towards the beach for a long time. The open face is already behind you. | Look for the open face as you ride down. Start the arc earlier and flatter in the lower part of the wave. |
| You lose speed in the turn. | You turn abruptly or your board goes into the turn with little speed. | Ride in with the momentum from the drop and increase the pressure on the rail gradually. Make the arc smaller. |
| The board barely climbs out of the turn. | Your eyes stay on the board, or the board flattens out again too early. | Before you steer in, pick a point on the open face. Hold the rail until the board is heading in that direction. |
How to practise your first bottom turn

Three waves with one goal
- Ride the first suitable wave on your usual line. Notice how low on the face you ride before steering towards the shoulder.
- On the next wave, pick an open point on the face while you’re still riding down. Ride a shallow arc towards it at the bottom of the wave.
- Repeat the line to the same side. This time, check whether you keep gliding along the face after the arc.

How to recognise a successful bottom turn
After the turn, you ride diagonally up the open wave face and still have enough momentum to keep gliding towards the shoulder.
If the nose of the board still points towards the beach after the turn, carry the arc a little further next time. If you reach the face but lose a lot of speed, try a flatter arc.
Frequently asked questions
What's the difference between trimming and a bottom turn?
When trimming, you hold a line along the wave face. With the bottom turn, you change direction and deliberately ride from the lower part of the wave back to the open face.
Can you do a bottom turn on a softboard?
Yes, if you can put the board on its rail in control on a green wave. On a high-volume board, practise a wide, shallow arc and make sure it keeps gliding.
Do I have to ride all the way to the bottom on every wave?
How deep the arc goes depends on your line and the wave. If there's a flat, fast shoulder in front of you, a small arc can be enough to stay on the open face.
More surf knowledge
Technical sources
Barefoot Surf · Bottom Turn · Barefoot Surf · Turning for Intermediates