



Setting fin plugs
Shape your surfboard: part 5

Fin plugs & leash plug
Fin plugs? In this part you’ll learn how much attention is paid to the mounts for the fins during the shaping process. By now you have chosen the right board for you (part 1) , got the tools you need (part 2) ready, shaped your blank into a surfboard (part 3) and laminated your surfboard (part 4). Next on the agenda: setting the fin plugs and the leash plug before moving on to your individual board design (part 6) ! Use the boards you’ve already ridden as a guide and analyse your surf style to know how best to place the fins so they suit the way you surf!
How to measure the position of the fin plugs…
First you have to measure at what distance and angle the fins should sit from the centre stringer and the tail, and transfer these measurements onto your board.
Always measure the fin plugs starting from the stringer. Proven standard measurements are: first 9 cm from the tail to the fin, then one of your fin lengths and then another 9 cm to the front fins. You can place the rear plug of the front fins about 3.5 cm from the rail and the front one at 3 cm. That gives you the perfect angle for your board!

Mark the fin plugs…
If it helps, you can make a template beforehand (from cardboard or wood). That way you can determine the position of the plugs precisely and symmetrically. Make sure you mark the holes so that the edge of the fin sits directly on the line – in other words, you have to mark the fin plugs very slightly offset!
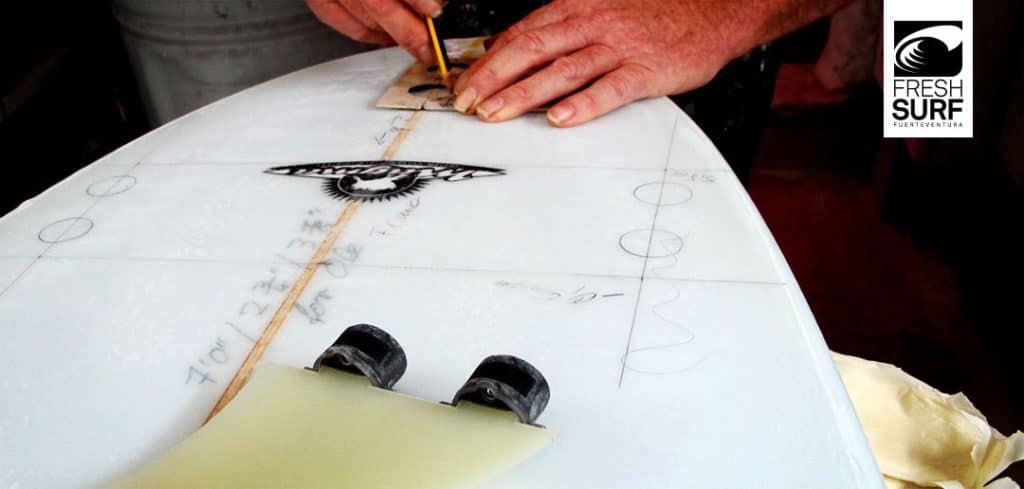
How to cut out the fin & leash plugs…
Since the plugs are usually round, a normal hole saw is enough to cut the holes out of the board. You can now cut out both the fin and the leash plug. Place the leash plug about 5 cm in from the tail, in the middle of the stringer. A rough estimate is enough here. In any case it shouldn’t be too far back and should still be in front of the first fin ;). Otherwise you’ll drill right through the board.
It’s best to mark the depth of the fin plugs on your hole saw with tape now so you don’t drill deeper than necessary. After pre-drilling the hole, you only need to rout it out neatly (definitely pay attention to the routing depth here too!). When you’re done, wipe or blow your surfboard free of dust before moving on to the next step!

The resin mixture…
Handle the chemicals carefully and protect yourself as well as possible (gloves / safety goggles). Never underestimate these substances!
The blocks are set into the holes with the resin mixture. There are a few rules for mixing it: first of all, you need to be 100% sure what material your surfboard is made of. If you use the wrong glue, your board will at best only be good as a display piece. There are two different types of polystyrene (PS): expanded polystyrene (EPS) and extruded polystyrene (XPS). You probably know it by the brand name Styrofoam. The two types look a bit different, but CAUTION: they both react with polyester resin and dissolve!
In short: if you pour polyester onto your polystyrene board, it will burn through your board in no time and instead of plugs you’ll have a few peepholes in your board. Which would be a shame ;). If your board is made of polyurethane you can use polyester resin ! Don’t mix more than 3% of hardener into the resin. The more hardener, the shorter the curing time, but the higher the heat of reaction. If you add too much, your board might catch fire and blow up in your face. The curing time also always depends on the room temperature and is usually stated on the packaging!
If you want to play it safe, always use epoxy! The curing time is a bit longer (approx. 12 h), but you can’t go wrong with it!
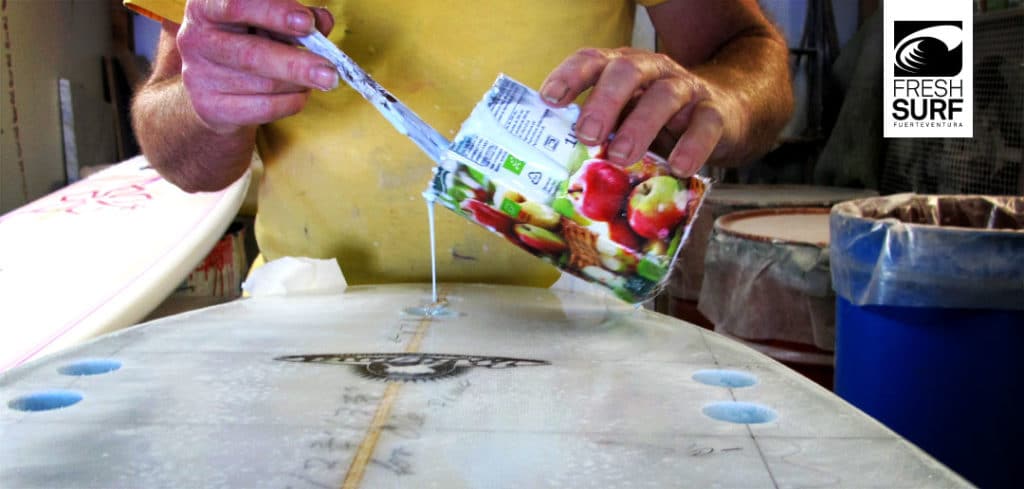
Place the fins…
So, you’ve got your mixture? Then let’s go! Fill your plug holes a good third full with it and now place your fins (and the leash plug). Pay close attention to their alignment, because you can’t change anything afterwards! To help, you can tape the fins in place. That makes them easier to align and they can’t slip afterwards! Now it’s time to wait and let it dry!

The finishing touch – and your board is ready for its design!
So, your plugs have now dried and are holding. Now you can sand the fin plugs down to the level of your surfboard. Careful, don’t sand too much! The resin and the fibreglass should stay on!
You’re almost there! Now you only need to sand off the last bits of unevenness and your board is finished! It’s important to sand off all shiny resin spots so that you get a matt, even surface. If you want a completely white board, you’re now ready for the water! Otherwise continue with part 6 – your board design & graphics!


