



Shape your surfboard: part 3 – from blank to surfboard

You’ve already cleared the first hurdles on the way to your first own surfboard shaping experience! All the important preparations have been made: you have chosen the right board for you (part 1) and got the tools you need (part 2) ready! You’re ready and can finally start shaping, before we show you how to laminate your board (part 4), set the fin plugs (part 5) and design your individual graphic (part 6)!
How to draw the outline for your first surfboard shape
Place the blank bottom up on your self-built or bought shaping stand. Using the sketches and the template you prepared precisely beforehand, draw the outline onto your blank.
You can use the centre line given by the stringer as a guide. With a template you can draw both sides one after the other and symmetrically. It’s important that the drawing of the shape on the bottom and on the deck match exactly, so that your surfboard doesn’t end up completely crooked. Definitely check the symmetry again at every step. That way you can be sure no problems arise in the following steps!
Now you can cut out the blank with a hand saw, cutting 2 cm outside the drawn line and holding the saw at a 90° angle. You can easily check whether you’re holding the saw straight using the line on the underside of the blank. Once you’re done, you can lay the blank on its rails and sand the whole thing evenly down to 5 mm from the line.

Shaping your surfboard – let’s go!
Now you can set the rocker using the measurements from your drawing and remove the material layer by layer. It’s best to start with the planer, which you’ve set in advance to how much it removes! Be careful towards the nose or only use sandpaper there. Once you’ve planed off the first layer, grab a large sanding block and sand the board evenly. Don’t forget to keep measuring the thickness of your board so you don’t sand off too much! You can keep adjusting the stringer to the height of your foam with a small planer.
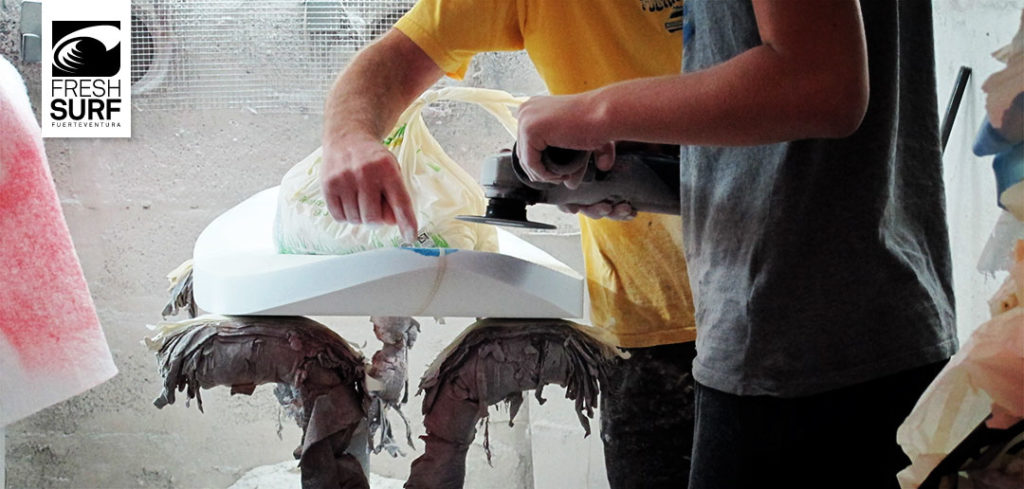
Next step in shaping your surfboard: the rails
Next, it’s time to carefully sand the rails of your first self-shaped surfboard. These steps sound easier than they are, because every sanding step has to be done with the same number of strokes and without pressure, which makes practising beforehand almost essential! So practise, practise, practise first… or get a shaper to help you! Definitely draw guide lines – and don’t worry, you won’t see them at the end! Draw a centre line that you can always use as a reference. Another guide line for your first angle is also recommended!

How to plane the rails of your surfboard correctly
With the rails you proceed slowly, step by step. That means you sand angle by angle, getting smaller each time. Start at the top and work your way to your first guide line. Don’t apply too much pressure when planing and remove less at the tail and the nose! If you always hold the planer at the same angle, you can’t go far wrong :). Remember to keep checking that everything is even – better too early than too late, because unfortunately you can’t add material back on. What’s gone is gone.

The finishing touches – how to make your shaped surfboard perfect
You’ve brought your rails into the desired shape. With fine sandpaper you can now give your rails the final finishing touches. Thanks to your lighting, you can see all the gradations and angles perfectly and see exactly where you still need to sand and whether your lines run straight. Patience is required – after all, the shape of your first own surfboard should be perfect!
